ADS

Showing posts with label Lipstick. Show all posts

Sunday, April 24, 2011

How to Wear Nude Lips

This is a request from a friend of mine to do nude lips look. Well for me, its is great companion for heavy eye makeup or nude look, perfect for any skin tones any age, ideal for any occasions. By all means, its looks good for anyone, provided you have to choose what shades look best for your skin tone.
To get good pouty look, few step you have to consider. 
1. Exfoliate lips before to create a smooth surface. It is important to ensure the lips is fully hydrated and smoothHide the imperfection or flaw by apply a generous amount of lip balm and let it soak in for a few minutes. Then rub and blot off the excess.
2. Apply a concealer that is the same tone as your skin, just using your finger. Blend and cover the lips completely.
3. Set the lips by lightly dabbing with powder. This is will make your lipstick last long.
4. Define the lip with a lip pencil with same colour of your lips, and apply lipstick. I quite often  skipped lisptick by filling in my entire lips with lip pencil and add nude gloss. 
5. When choosing a gloss, go for either clear or neutral one. If you used a matte lipstick, it's oke to choose a gloss that has just a hint of shimmer to it. 
(me loves 27 pink kiss by Estee Lauder). Apply gloss to center of lips and you’re good to go.

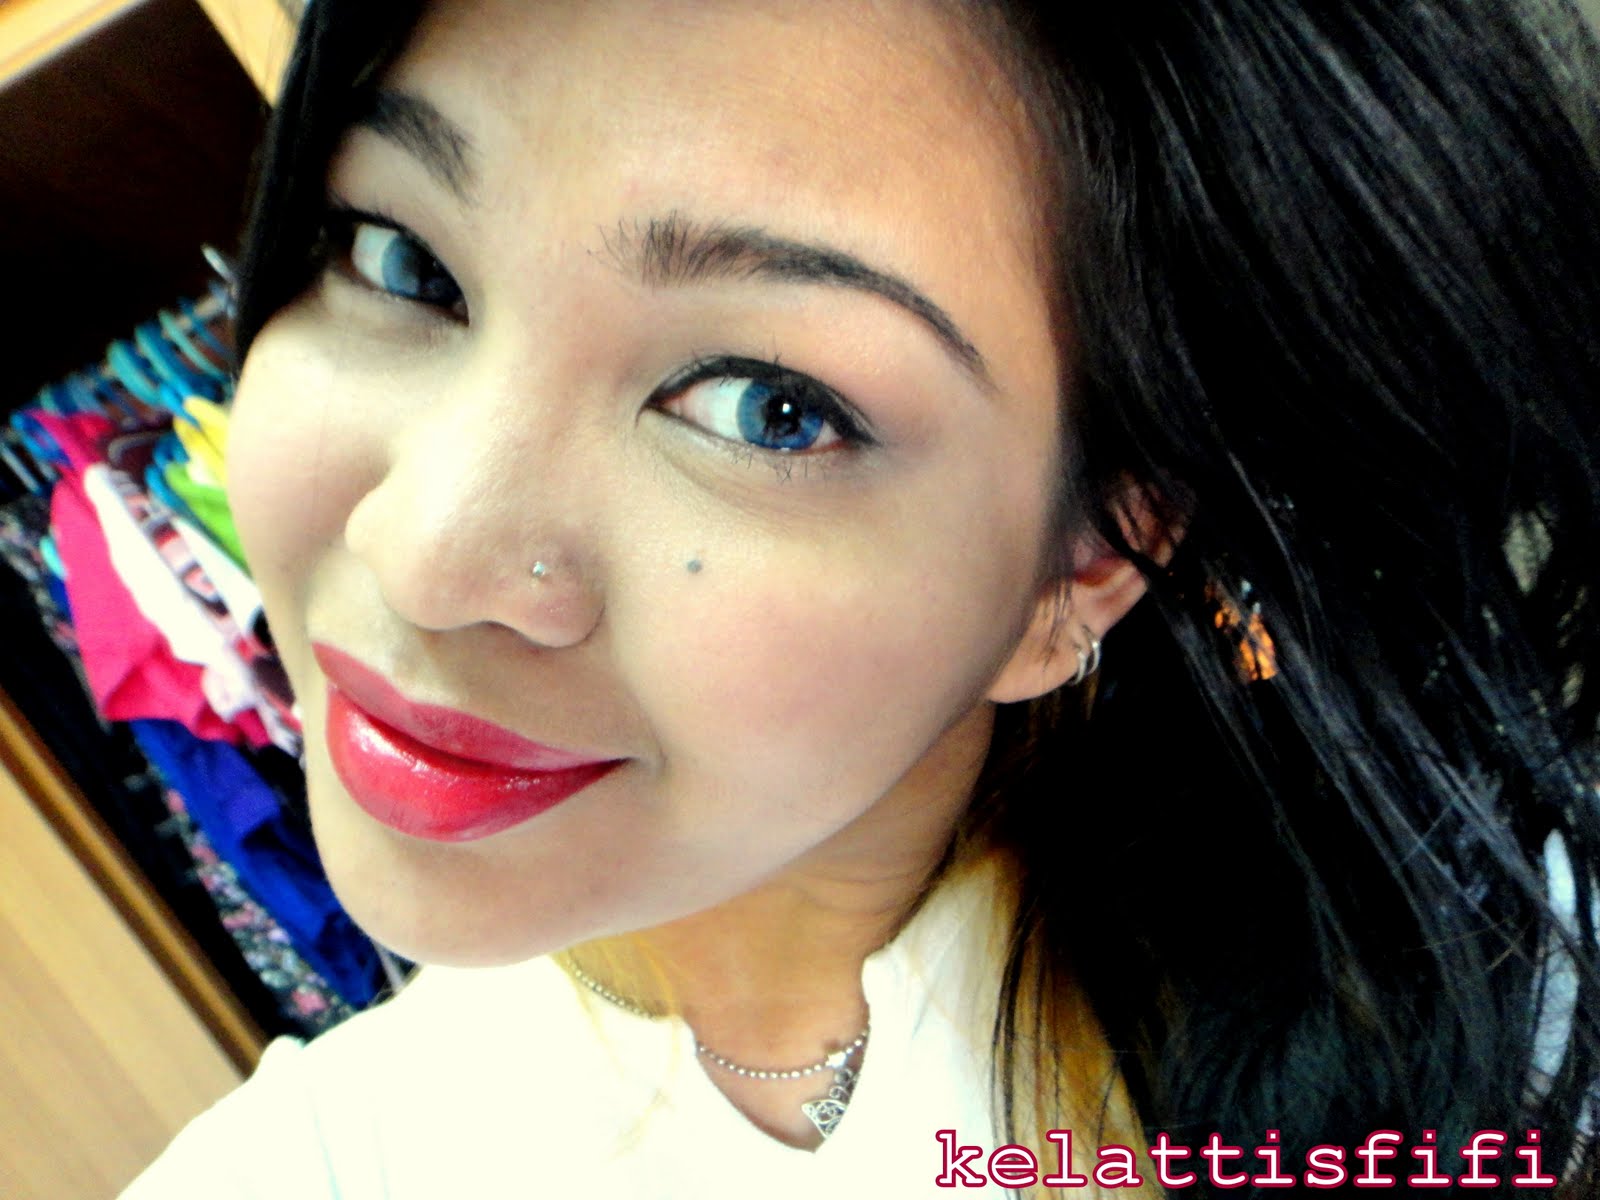
I should add more pink blush. Aiseh!!
Add color somewhere on your face to avoid looking washed out. A natural makeup look with tones that mirror your skin tone is pretty, but add a bright blush or eye color to liven things up. And I agree with many that a glossy nude lip really compliments a smokey eye

Sunday, April 17, 2011

How to Wear Red Lips

The inspirations
Few shades of red that I have : L-R, Spanish Red(Orangey Red), Scarlet (Deep Cool Red) and Bright Pink. All from Estee Lauder. I love Estee Lauder's lipstick as they are glide smoothly, the scent of fig and taste pleasantly. :)
For this tutorial, I opt for Scarlet.
a. Important, you have to make sure that your lips are ready to receive lipstick. To begin with, dab on a very small amount of lip balm or petroleum jelly to give your lips a little moisture. If you have lip primer, that’s better.

b. Next, draw a thin line along the edge of lips with a lip liner whose color is one shade darker than your lipstick (or almost same with your lipstick). Start at the center of the upper lip and work outward. For the inner corner part of lips, you need to open your mouth to line in the edged. If you skip this part, people will see a gap when you talk, so don’t skip this.
c. Fill in to entire lips to downplay excessively full lips.
** I skipped D sorry.**
e & f. Apply lipstick from the tube or by using a firm, small lipstick brush. Coat the lips evenly to fill in fine lines. Pay special attention to staying within the lips edges.
g & h. Take the brush and apply the concealer around outside of your lips to clean them up and take out any imperfection. This going to make lips pop, to get a defined lips and to avoid the lipstick from feathering
i. There you go.
Optional
If you love your red lips to be a matte and velvety finish, dab a red eye shadow to your lips using your finger. Or, to have a glossy finish, apply with red lip gloss. I just don’t have it so I put a small amount of clear gloss and dab it with lip brush that I used just now. Be precise don’t get it to bleed over.

**Tips**
Wear a rich and boldly colored lipstick to complement soft eye makeup.
I have a full and thick lips. If you have a small lips, give the illusion of a thicker top lip by lining its outermost edges and foregoing liner on the bottom lip.

Hair inspiration - Hantu Kak Limah. LOL!!


Monday, March 21, 2011

DIY : How to Make a Lipstick

This is another fun project that you can do at home. I’m only had one color of blusher, you can combine two or more different colors of blusher (or even eye shadow). So here we go let’s get started.
To success, you will need:
Old/broken/unused blusher or eye shadow 
A wooden pencil, make sure the end part is flat and clean
Hair pins
Paper towels
Small pot or jar to put your lipstick into
A lip brush or toothpick

The preparation could get messy, so set out a working surface by putting a paper towel or paper bags beneath where you’re working.


a.  Using hair pin, scrap the blusher out from the pan into a clean jar.
b. Smash the blusher into a powder by punching the back of the wooden pencil. Grind until the powder is fine. Don’t leave any clumps because it will end up in your lipstick, and that’s not good.
c. Mix powder with a bit of Vaseline. Give or take the amount of Vaseline depending on amount of your powder. Optional – few drops of Vitamin E into the mixture. I just don’t have Vitamin E. Hehe
d & e. Stir the mixture with hair pin into desire content. If you want a form of lipgloss type, add more Vaseline and Vitamin E, me myself prefer a lipstick type.
f. Clean the jar edges, and put it into a microwave for about 30 seconds. I don’t know what is wrong with the microwave, my lipstick didn't melt at all even I reheat with high heat.
g. So, I exposed the mixture to a sun heat, yes it turned into a liquid within a short period of time. Stir the mixture again to make sure that everything are mixed properly.  
h. Enjoy! This is not only my new lipstick, but also can be use as cream blusher to get a sun-kissed look.

I applied as cream blusher as well
NOTE: I've found it have a pretty foul taste, you might want to put on some flavored balm before applying. Be sure that the blusher or eye shadow you are using is safe to be used as a lip product before using.

Wednesday, March 16, 2011

How to Melt a Lipstick

This entry is essentially about re-using your old, unusable lipsticks to make new lipsticks. I hate when my favourite lipstick gets broken, or sometimes it get stuck in the cap when I close it in a rush. When my lipstick is over, there is still some of it left in the container, the last bit that won’t roll up but is still sitting in. You want to be able to use your lipstick in all the above mentioned cases. It’s cheap, easy and very handy. You can reduce wastage and save money too.
This is a fun project that you can carry out in your kitchen at home. You can even be creative and combine two or more different colors to make a new color. 
What you will need is:
Hair pin or mini spatula
Paper towels
Small pot or jar to put your lipstick into
A lip brush or toothpick
Access to a microwave
What we are going to do is:
a. First, using a hair pin, scrap out the lipstick from the lipstick container, which maybe the cap with the smashed lipstick or the base with the last bit of your lipstick. Put this in a small microwave safe container. If you have any broken lipsticks, you know when the stick just breaks out, add those to the container too.
NOTE: I’m using long lasting lipstick, and I prefer a more moisturizing base for my lipsticks, so I added a tiny bit of Vaseline and mix it into the mixture lipstick.
Oke, once you have the lipstick in the container, put it in the microwave for a few seconds. Depending on the quantity of the lipstick, the time will vary. For an entire lipstick, do 30 seconds first. Check if the lipstick has melted completely. If not, microwave another 15-20 seconds. Remember, never let the lipstick boil to a liquid, microwave it just until it melts. Over heating will separate its oxides and the glitter that the lipstick contains, you don’t want that!
b. Once melted, mix the new mixture with lip brush or toothpick just to make sure that the mixture is really mixed properly.
c. Before it get cool, clean the jar edges with clean paper towel.
d. Enjoy! The new lipstick can be applied with a lip brush or your finger.
NOTE: I find that melting the lipsticks does not change the consistency, color or taste. Provided don’t get it boiled on a microwave. I figure that they were melted originally into the lipstick mold, so melting it again won't do anything.
Another advantage of lipstick palettes is they are compact, easy to carry in a purse, very handy and they give you a chance to form new fun shades each time. If you are travelling or want your makeup to take lesser space, it’s a great alternative.
Tips: What you can do when you don’t have any access to microwave?
Place lipstick that has been sliced into pieces to the big metal spoon. Using a match light the candle, hold the metal spoon containing the broken lipstick over the candle until the lipstick has melted. Then, pour the mixture into a clean and empty container.

And last but not least, the faces of me. :)
and